


What Standard ONVIF Means in CCTV
CCTV is one of the most network equipment that can help every business and organs. CCTVs because can keep secure is very important. CCTVs have different types and many protocols that improve their capabilities.
These protocols such as ONVIF, IP67, Human detection and etc. we want to explain Standard ONVIF in this article, also you can read our blogs in Atech Blog.
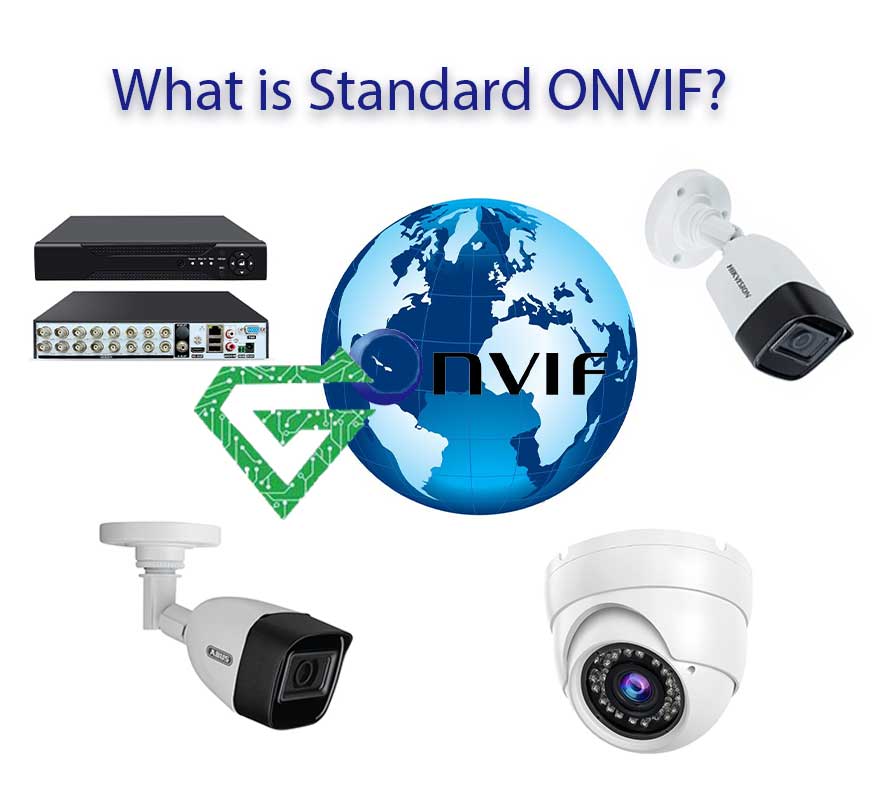
What Standard ONVIF Means in CCTV:
ONVIF (Open Network Video Interface Forum) is an open industry standard that enables interoperability between IP-based physical security products, such as CCTV cameras, Network Video Recorders (NVRs), and video management software even if they’re made by different manufacturers. When a CCTV device is labeled as “ONVIF-compliant” or supports “Standard ONVIF,” it means:
- Interoperability: The camera or recorder can work with other ONVIF-compliant devices, regardless of brand.
- Standard Communication Protocols: It uses agreed-upon APIs for functions like video streaming, motion detection, pan-tilt-zoom (PTZ) control, and more.
- Plug and Play: Makes integration into larger or mixed-brand surveillance systems easier and faster.
- Future-Proofing: Easier upgrades or replacements in the system without worrying about proprietary compatibility.
Common Versions of ONVIF Profiles:
ONVIF defines profiles to help ensure compatibility:
-
Profile S: Basic video streaming (commonly used for cameras and NVRs).
-
Profile G: Video recording and playback.
-
Profile T: Advanced video streaming with H.265, metadata, and analytics support.
-
Profile A: Access control configuration.
-
Profile M: Metadata and analytics for smart cameras.
Practical Example
If you have a JVS-N516-MDLcamera and want to connect it to a third-party NVR (like Hikvision or Dahua), Standard ONVIF support ensures they can communicate, provided both devices support the same ONVIF profile.
How ONVIF Works Step by Step?
Standard ONVIF works by defining a set of open protocols that allow IP-based security devices (like CCTV cameras, NVRs, VMS software) from different manufacturers to communicate and function together in a unified way.
1. Device Discovery
- ONVIF uses WS-Discovery (Web Services Discovery) to let devices “find each other” on the network.
- For example, when you connect an ONVIF camera to an NVR, the NVR can detect it automatically (similar to plug-and-play).
2. Authentication and Communication
- Devices exchange information using standard web service protocols (SOAP/XML) over HTTP or HTTPS.
- The camera will authenticate the request (usually via username/password), then respond with available services.
3. Media Configuration and Streaming
- The NVR or video management software (VMS) requests the video stream using ONVIF’s defined Media Service API.
- It can set or adjust:
-
Resolution
-
Frame rate
-
Codec (H.264, H.265, etc.)
-
Stream URL (usually via RTSP)
-
4. Control and Events
- If the camera supports PTZ (Pan-Tilt-Zoom), ONVIF enables remote control through PTZ Service API.
- Motion detection or sensor alerts can be sent through the Event Service.
5. Recording and Playback
-
Via Profile G (if supported), the NVR or VMS can control recording settings and retrieve recorded video.
Read more: Guide to Buy CCTV in Dubai
Security of ONVIF:
- ONVIF supports TLS/SSL encryption (HTTPS) for secure communication.
- Device authentication uses basic HTTP authentication or digest authentication (depending on the device).
Example in Real Life:
If you buy a JVS-N516-MDL 5MP ONVIF camera and have a Dahua NVR:
- You plug the camera into the network.
- The Dahua NVR scans the network and detects the camera using ONVIF.
- The NVR logs in using the camera’s ONVIF username/password.
- It pulls the RTSP stream and displays video.
- You can now record, use motion detection, and even control the camera via ONVIF (if supported).
How to Test an ONVIF Camera Using Free Tools?
A popular and user-friendly tool is ONVIF Device Manager (ODM). It’s free and works on Windows.
Step-by-Step: Using ONVIF Device Manager;
1. Download and Install
- Download ODM from GitHub:
- Install and launch it on a PC that’s on the same local network as your camera.
2. Scan for ONVIF Devices
- When you open the tool, it will auto-scan the local network using ONVIF WS-Discovery.
- Any ONVIF-compatible devices will show up in the left panel.
3. Log in to the Camera
- Click the camera you want to access.
- In the right panel, enter the camera’s ONVIF username and password (often different from the web login).
4. Explore Services
Once logged in, you can:
- View the Live Video Stream.
- Configure resolution, codec, and bitrate under Media Profiles.
- Test PTZ controls (if supported).
- View event alerts (like motion detection).
- Adjust network and date/time settings.
- Get the RTSP stream URL (used for integration with software like VLC, NVRs, or Blue Iris).
RTSP Stream URL via ONVIF
After logging into your ONVIF camera via ODM, you’ll find a stream URL like this:
rtsp://username:password@camera-ip:554/Streaming/Channels/101/
This can be tested in:
- VLC Media Player (Media > Open Network Stream)
- Blue Iris
- Any RTSP-compatible NVR or VMS
Sample ONVIF XML Request
If you’re curious about the raw protocol, here’s a simplified ONVIF SOAP request to get the device capabilities:
<SOAP-ENV:Envelope xmlns:SOAP-ENV=”http://www.w3.org/2003/05/soap-envelope”>
<SOAP-ENV:Body>
<GetCapabilities xmlns=”http://www.onvif.org/ver10/device/wsdl”>
<Category>All</Category>
</GetCapabilities>
</SOAP-ENV:Body>
</SOAP-ENV:Envelope>
<SOAP-ENV:Body>
<GetCapabilities xmlns=”http://www.onvif.org/ver10/device/wsdl”>
<Category>All</Category>
</GetCapabilities>
</SOAP-ENV:Body>
</SOAP-ENV:Envelope>
ONVIF devices respond with capabilities like:
- Media services
- PTZ
- Events
- Imaging settings
Debugging ONVIF:
If a camera doesn’t show up:
- Make sure ONVIF is enabled in its settings.
- Check that it’s on the same subnet as your PC.
- Verify that the ONVIF port (usually 8000 or 8899) is open.
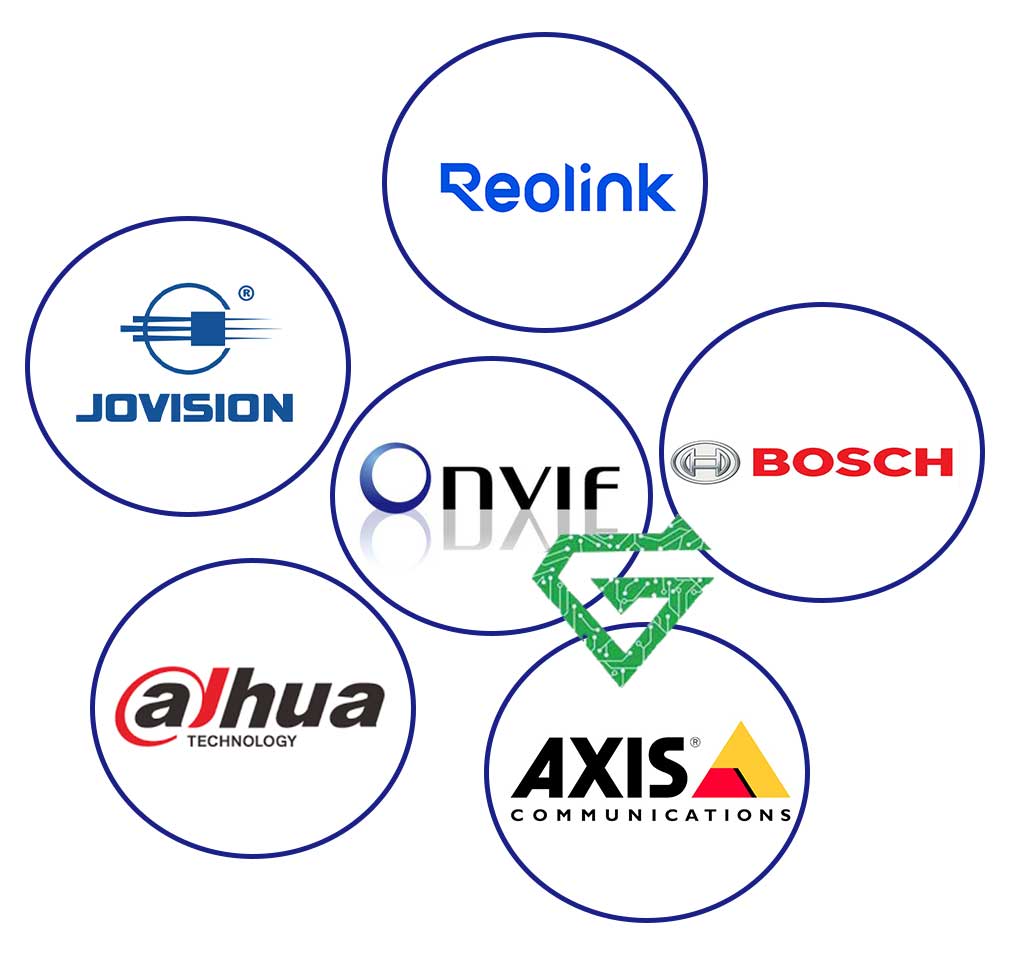
Major Brands That Support Standard ONVIF:
Thousands of cameras from major and minor brands support Standard ONVIF, but they vary by model and ONVIF profile. These brands consistently support ONVIF across most of their IP camera models:
- Hikvision: Most models support ONVIF Profile S & T (but check firmware settings)
- Dahua: Widely supports ONVIF; even their OEM rebrands (Amcrest, Lorex, etc.)
- Axis: Founding member of ONVIF; supports full ONVIF standards
- Bosch: High-end; supports Profile S, G, T, and more
- Hanwha Techwin (Wisenet): Solid ONVIF support, including advanced analytics features
- Vivotek: ONVIF-compliant with broad profile support
- Reolink: Most models support ONVIF but may require enabling it manually
- Amcrest: Amcrest
- UNV (Uniview): Supports ONVIF S/G/T
- Jovision: Many models, like JVS-N516-MDL, support ONVIF
How to Check If a Specific Camera Has Standard ONVIF:
-
Look at the camera’s datasheet or spec sheet – it should mention “ONVIF compliant” or specific profiles like Profile S/T.
-
Visit the official ONVIF Conformant Products List:
-
You can search by brand, model, or profile.
History of ONVIF:
The history of ONVIF (Open Network Video Interface Forum) is closely tied to the evolution of IP-based surveillance technology. It was created to solve a fundamental problem: lack of interoperability between IP security devices from different manufacturers.
2008 ONVIF Founded:
- Founding members: Sony, Axis Communications, and Bosch Security Systems.
- Objective: Create a global standard interface for IP-based physical security products.
- Motivation: Manufacturers were using proprietary protocols, which made it difficult to integrate systems using devices from different brands.
2009 First ONVIF Standard Released:
-
The first ONVIF core specification was published.
-
Covered:
-
Video streaming
-
Device discovery
-
Device management
-
Basic PTZ (Pan-Tilt-Zoom) control
-
-
Introduced the first ONVIF-conformant products to the market.
2010–2012 Expansion and Adoption:
- More security manufacturers joined the forum.
- ONVIF gained popularity and began to replace proprietary protocols.
- Profile S introduced (for video streaming) became the industry baseline.
2014 Profile G:
- Focused on video recording and playback.
- Designed for NVRs, DVRs, and storage solutions.
2016 Profile Q:
- Designed to simplify device installation and configuration.
- Included features like quick discovery and setup.
2017 Profile T:
-
Designed for advanced video streaming:
-
H.265 support
-
Enhanced metadata
-
Motion detection
-
-
Meant to future-proof ONVIF in the face of evolving video tech.
2020 Profile M:
-
Introduced to support metadata and analytics:
-
Object detection
-
Face recognition
-
AI-driven video content analysis
-
ONVIF Today:
- Over 500 member companies
- 20,000+ conformant products globally
- Used in CCTV, access control, and VMS systems
- ONVIF profiles allow buyers to mix-and-match products from different vendors.
Why ONVIF Matters:
- Problem: Each vendor used proprietary tech
- Solution: ONVIF standardizes communication
- Problem: Integration required custom coding
- Solution: ONVIF-compliant devices plug and play
- Problem: Limited flexibility in system design
- Solution: Mix-and-match devices with confidence
How to Install or Enable ONVIF on an IP Camera:
“Installing Standard ONVIF” isn’t quite like installing software. ONVIF is a protocol, not a program. But if you’re trying to enable, configure, or make use of ONVIF on a camera, NVR, or software system, here’s a step-by-step guide for activating and using ONVIF on most devices:
1. Access the Camera’s Web Interface
-
Connect your camera to the network.
-
Find its IP address using:
-
Open a browser and go to the camera’s IP (e.g., http://192.168.1.100).
-
Log in using admin credentials.
2. Enable ONVIF Protocol
Look for the ONVIF section in settings. It’s usually found under:
Configuration → Network → Advanced Settings → Integration → ONVIF
-
Enable ONVIF.
-
Some brands (like Hikvision) require creating an ONVIF user separately (see next step).
3. Create an ONVIF User
In many cameras, ONVIF has its own authentication layer separate from the main admin account.
Create a new ONVIF user:
-
Username: onvifuser
-
Password: yoursecurepassword
-
User level: Administrator (or Operator, depending on needs)
4. Allow ONVIF Ports in Firewall (if needed)
Most cameras use:
-
Port 8000, 8080, or 8899 for ONVIF services
-
RTSP port 554 for video streaming
Make sure these are open in your router or firewall if connecting across subnets.
5. Test the Camera with ONVIF Software
Use a tool like ONVIF Device Manager:
-
Download
-
Launch it and input your camera’s ONVIF credentials
-
You should see live video, configuration tabs, and PTZ (if supported)
Using ONVIF with NVR or VMS:
-
Go to “Add Camera” section.
-
Choose ONVIF Protocol instead of manufacturer-specific protocol.
-
Enter:
-
ONVIF username/password
-
Port (usually 8000 or 8899)
-
Wait for the NVR/VMS to auto-discover and display the stream.
For Software Developers:
If you’re building your own ONVIF integration:
-
Use open-source libraries like:
-
OpenONVIF (Python)
-
onvif-zeep or ONVIF-Java
-
-
Reference the official spec: onvif.org/specs
Top Benefits of Using Standard ONVIF
The benefits of Standard ONVIF in CCTV and surveillance systems are substantial—especially for system scalability, flexibility, and future-proofing.
1. Interoperability Between Brands
-
ONVIF allows cameras, NVRs, and VMS software from different manufacturers to work together.
-
You’re not locked into a single brand ecosystem.
Example: A Hikvision camera can work with a Dahua NVR using ONVIF.
2. Easy System Integration
-
ONVIF defines standard ways to handle video streaming, PTZ, motion detection, and more.
-
Reduces the need for custom drivers, plugins, or proprietary SDKs when building or expanding systems.
3. Future-Proofing
-
If one brand becomes obsolete or unavailable, you can switch to another ONVIF-compliant device.
-
Easy to upgrade or replace individual components without replacing the entire system.
4. Standardized Security Protocols
-
ONVIF supports secure authentication, encrypted video streams, and HTTPS communication.
-
Ensures safer connections in professional surveillance systems.
5. Wide Tool Support
-
Many diagnostic tools and open-source software (like ONVIF Device Manager) support ONVIF.
-
Makes installation, testing, and configuration easier especially for installers and system integrators.
6. Access to Smart Features (via Profiles)
-
Different ONVIF profiles (like T and M) allow support for:
-
H.265 video encoding
-
AI-based motion detection
-
Object classification
-
Smart alerts
-
7. Faster Deployment
-
Plug-and-play functionality for many devices using ONVIF auto-discovery.
-
Cuts down on time spent configuring and troubleshooting IP devices.
8. Standard Documentation & Support
-
ONVIF is a well-documented protocol with public specifications and active developer communities.
Read more: All about CCTV and its types
Choosing CCTV with Standard ONVIF or without?
Choosing a CCTV system with Standard ONVIF is almost always the better decision, especially if you value flexibility, integration, and long-term usability.
Choose CCTV with Standard ONVIF If You Want:
- Cross-brand compatibility: Mix and match cameras, NVRs, VMS software
- Easier integration: ONVIF is supported by most surveillance platforms
- Future flexibility: Upgrade or replace hardware without starting from scratch
- Simpler setup & discovery: Tools like ONVIF Device Manager make setup easier
- AI / analytics support: Profiles like M and T support smart detection & metadata
- Secure communication: ONVIF supports standardized encryption/authentication
- Cost control: Avoid vendor lock-in and proprietary licensing fees
Choosing CCTV Without ONVIF Means:
- Vendor lock-in: You’re stuck using that brand’s NVR/VMS
- Limited integration: May not work with third-party software like Blue Iris, Milestone
- No smart feature standardization: Difficult to use smart events with other systems
- Manual setup required: No auto-discovery via tools like ONVIF Device Manager
- Harder to upgrade: Can’t easily replace individual parts with newer options
Recommendation and Conclusion:
Always choose ONVIF-compliant CCTV unless you have a very specific reason not to. It gives you more control, more compatibility and a future-proof system.
ONVIF (Open Network Video Interface Forum) is a global standard created in 2008 by Sony, Axis, and Bosch to ensure interoperability between IP-based security devices such as cameras, NVRs, and video management software (VMS).
It allows products from different manufacturers to work together by defining standard communication protocols for features like video streaming, PTZ control, motion detection, recording, and smart analytics.
ONVIF uses profiles such as Profile S for video streaming, Profile G for storage, Profile T for H.265 and metadata, and Profile M for AI analytics to simplify compatibility across systems. The main benefits of ONVIF include easier setup, cross-brand compatibility, future-proof system upgrades, and broader integration with third-party software.
Supporting over 20,000 products from 500+ companies, ONVIF has become the backbone of modern CCTV systems, offering flexibility, scalability, and long-term value.